You check out lists of ‘must have’ WordPress plugins across various blogs, you’ll find one thing in common. Each list would have a caching plugin in it. They are unavoidable. WordPress users have a variety of caching plugins to choose from. One of the most popular one is WP Super Cache.
Other prominent ones are W3 Total Cache, Hyper Cache etc. Most of these caching plugins are free ones. Before going any further, let us learn some basic facts about caching process and its uses.
What is Caching? Why is it important?
How do you think a blog/website loads on a browser? It is an interesting process. I’ll explain it to you in detail. When a visitor tries to access your blog, his/her browser downloads various components of your blog, arranges them and displays it.
So, the browser downloads individual components like CSS files, images, header files etc, one by one. How does the browser download these stuff, and from where? The browser sends http requests to the server hosting your blog. It is the server that delivers these files to the browser.
So, to load a complete blog, a number of requests are made to the server. This obviously engages the resources of the server, straining it. This results in huge loading time for a site/blog.
This is where caching comes handy. Caching is the process of storing your blog’s static files in the form of a single file. After caching, the browser just needs to download the static file to render your blog. This static file is lighter and loads much better and faster than the traditional ‘http requests’.
Caching plugins exist for this reason. They produce the static cache of a blog. They offer other features like regenerating cache at regular intervals, garbage collection (updating/removing files that have surpassed the expiry time) etc.
Why I recommend WP Super Cache?
If you’ll ask WordPress users and enthusiasts, many will recommend W3 Total Cache. They’ll rate it better than WP Super Cache. But I beg to differ.
I agree that W3 Total Cache has some advanced features like minifying CSS, JavaScript files etc. But I believe that it is too hard to configure and set-up for beginners. Moreover, it has a tendency to trigger conflict with other plugins.
All these factors make me say that WP Super Cache is the best. It is relatively easy to set up. Cases of conflict with other plugins are rare. The support offered by the developer and community is awesome. Further, the extra features offered by W3 Total Cache can be attained with the help of a few extra plugins.
So, without wasting any time, let us see how to set-up this plugin. I’ll be providing you the optimum configurations. Set it up once and forget about it. The plugin will take care of the rest.
Optimum configuration of WP Super Cache:
First of all, download the plugin’s zip file from the WordPress.org directory. Now, follow these steps:
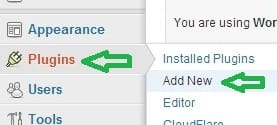
Open WordPress Dashboard > Plugins > Add New > Upload > Select the Zip file you just downloaded > Click Install Now.


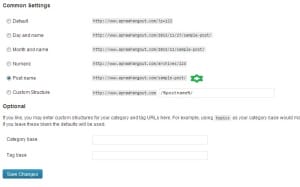
Once the uploading and installation process completes, Activate the plugin. For this plugin to work, you need to change the ‘Permalinks’ setting of your blog. For that, go to Settings > Permalinks. Choose this type of Permalink for best results – yoursite.com/sample-post. Once the plugin is activated, go to Settings > WP Super Cache.
1. Easy/ General settings:
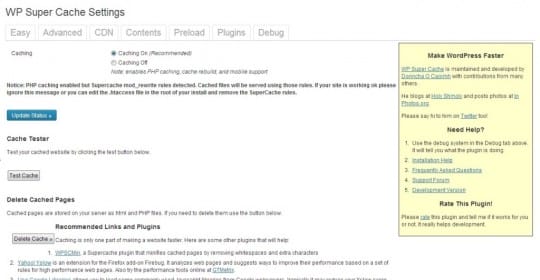
The first thing that you’ll see is this page. These are the easy/general settings. Use the radio button and activate Caching (recommended). First step has been completed.
2. Advanced Settings:
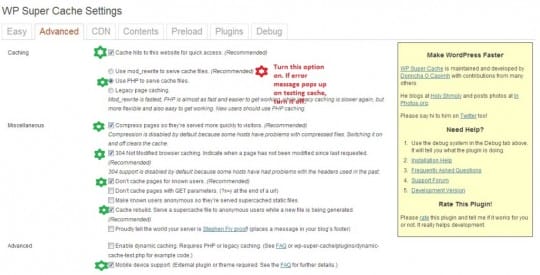
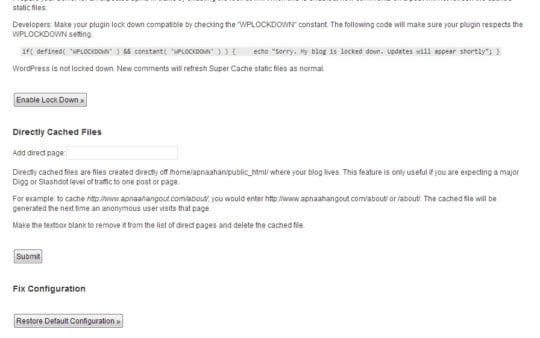
This section comprises of slightly advanced set-ups. It is quite long section too. Please refer the screenshots and use the radio buttons to select the options that I’ve selected. These are the optimum settings.
The mobile device support must be left on. It will make sure that your blog’s cache is optimized for mobile browsers and devices. This is particularly important, given that more people are using mobile devices now to surf the internet.
3. CDN settings:
CDN stands for Content Delivery Network. They basically help boost the speed and performance of a blog/site by hosting its resources on their own servers.
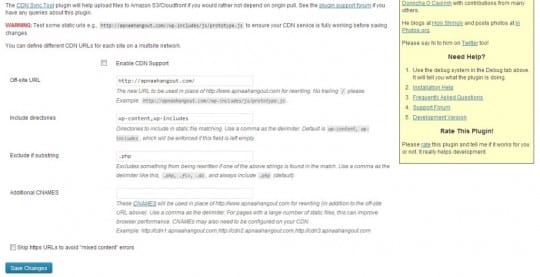
If you want to use a CDN service for your blog, WP Super Cache makes it easy to integrate it with caching process. So, want to make use of a CDN service? Enable CDN support by clicking on the button.
When you start using a CDN, your blog’s content will be delivered through the CDN servers. This makes changes to the URL. This is what constitutes the off-site URL. Enter the off-site URL and make sure that it doesn’t end with ‘/’.
Save the changes. If you are not using a CDN, simply leave this section. Don’t enable it at all!
4. Contents settings:
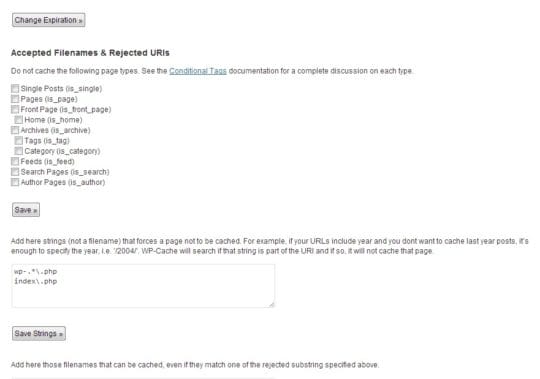
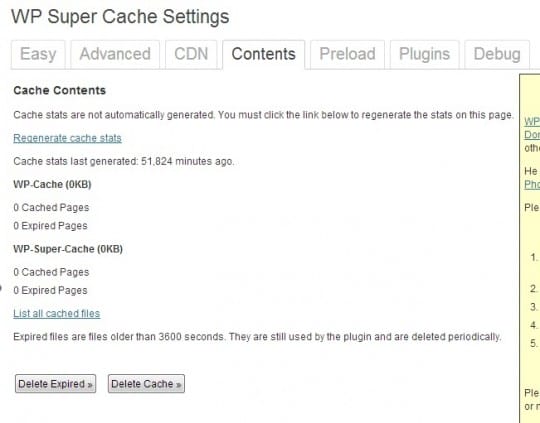
There is nothing to set-up here. Just click on the buttons one by one. First, click ‘Delete Expired’. Follow it up by clicking ‘Delete Cache’. That’s it; you are done with this section.
5. Preload, Plugins and Debug section:
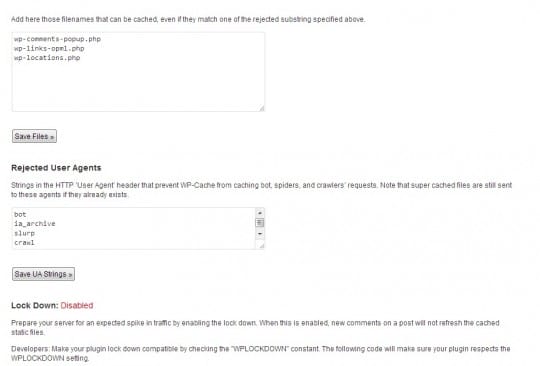
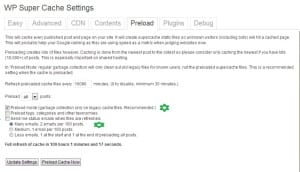
As far as new bloggers are concerned, I recommend to leave these sections untouched. The default settings will work fine, believe me.
That’s it folks, you’ve just set-up WP Super Cache on your blog! The configurations you’ve just made are optimum. Now, there is no need to worry about performance issues! Set-it up once and forget about it! Remember to update this plugin whenever new updates are available. I’ll appreciate it if you spare few seconds to share this article. The social sharing buttons are below. Make use of them and share it! Also, follow me on Google +, Facebook and Twitter. The links are available on right sidebar. Provide your valuable feedback in comment section.
This article is written by Ram Balak. He is senior manager and experienced php developer working for Webpro India, a digital web agency offering all sort of web services.
