Businesses love the way of software outsourcing as they can get maximum benefits from it. In today’s time, no one has enough time to invest in the job for which the person has acquired low or zero skills. Just like businessman, who knows how to do business but has lack of IT skills to secure their data on cloud. In this blog, we will share tutorial to set up S3 and FTP that will help businesses to store their data via cloud computing.
We all have been aware of the power of Cloud computing these days. The most important of all being the centralized storage of data and code in another server while paying a minimal cost to the providers. It helps us a lot since it helps us get rid of the infrastructure required to maintain at our end to provision code / data and scale as per the needs.
The most famous tools used in Cloud computing are that of data transfer. It means storing the data in the cloud so that it is accessible from anywhere / any part of the world with the only requirement of that of a Internet connection. There have been many tools / software that provide us with a simple to use functionality interface to upload data / download to and from the cloud. Internally many of them use the AWS S3 buckets to store data. These companies are responsible for providing an easy to use interface to make our work even easier rather than going to AWS console and uploading / downloading data.
The most popular and widely used tools used in today’s world are Dropbox, Google Drive, OneDrive etc. The question arises that how are we able to use their easy interface and upload/download data rather than actually going to the servers. The answer is ftp. We use ftp to mount the bucket/folder in the servers to a folder in our pc, so that whenever we copy/delete/add any file to the local folder, it is automatically added to the server’s folder.
Here in this tutorial, I am going to show you how to mount an AWS bucket to a local folder in Ubuntu in the pc in a step by step manner. We are going to use s3fs library to achieve this functionality.
Please review the Steps below:
1) Install Ubuntu in the local machine
2) Once the installation is complete, open the terminal and run the following command to download the s3fs library using wget. The latest version of s3fs is 1.74 at the time of writing this article. Download the latest one when setting this up.
wget http://s3fs.googlecode.com/files/s3fs-1.74.tar.gz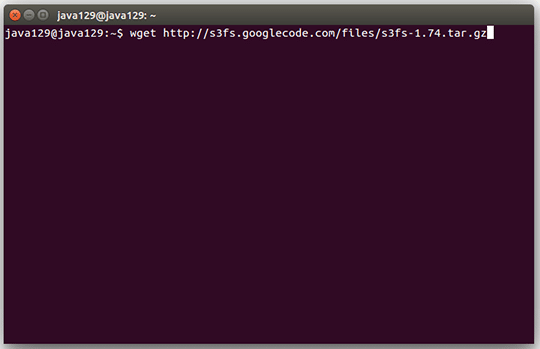
3) Run the following command to update all the required dependencies in the system
sudo apt-get update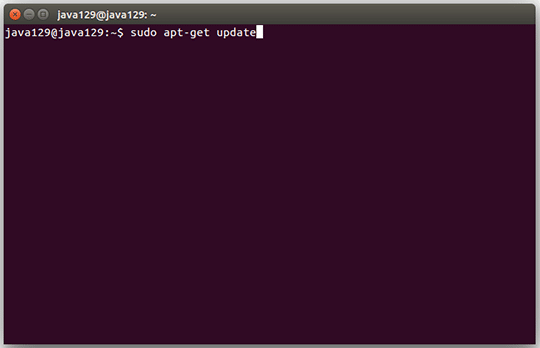
4) Run the following command to install the required dependencies for s3fs to install:
sudo apt-get install make gcc g++ pkg-config libfuse-dev libcurl4-openssl-dev libxml2-dev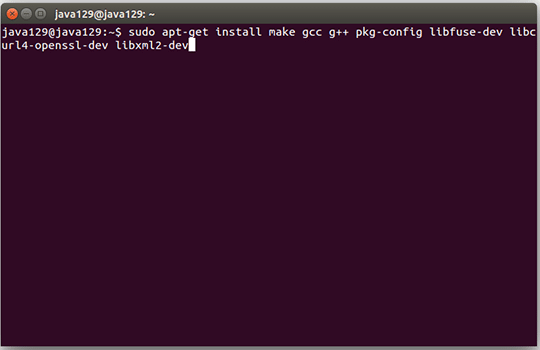
5) Run the command to untar the downloaded the s3fs library
tar xvfz s3fs-1.74.tar.gz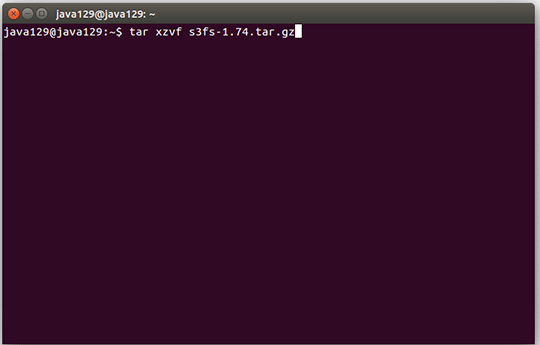
6) cd to the directory now
cd s3fs-1.74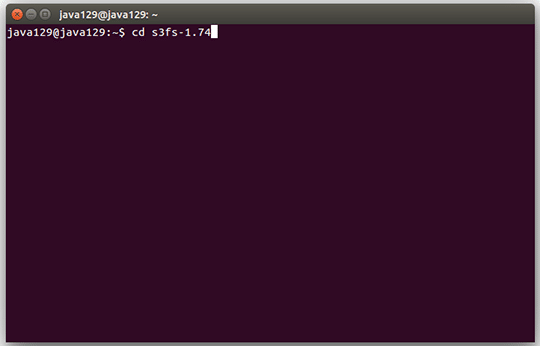
7) Run the following command to configure s3fs:
./configure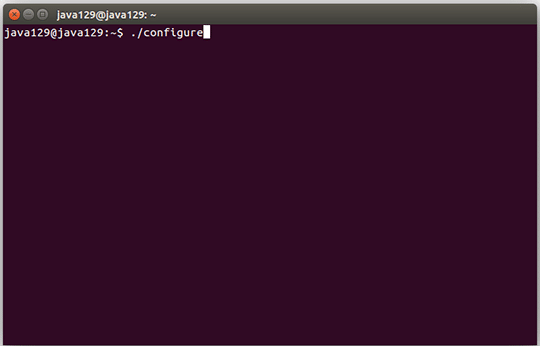
8) Run the following command next:
make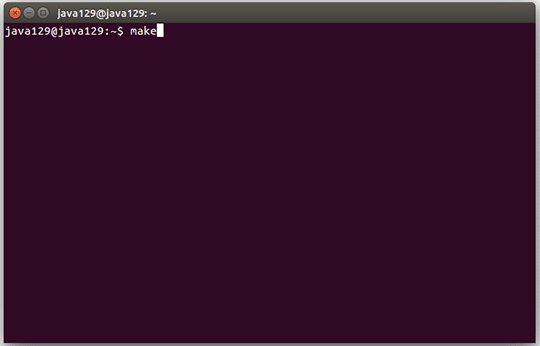
9) Run the following command next:
sudo make install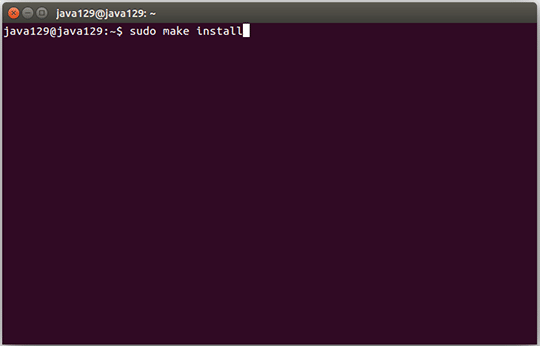
10) Run the following command to enter the AWS access_key and secret_key into a file called .passwd-s3fs for use with s3fs. Do not forget to substitute ACCESS_KEY_ID and SECRET_ACCESS_KEY with your own credentials.
echo ACCESS_KEY_ID:SECRET_ACCESS_KEY > ~/.passwd-s3fs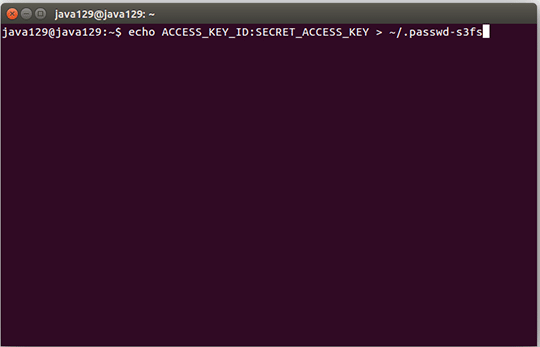
11) Change the permissions of .passwd-s3fs file to 400 using the command
chmod 400 ~/.passwd-s3fs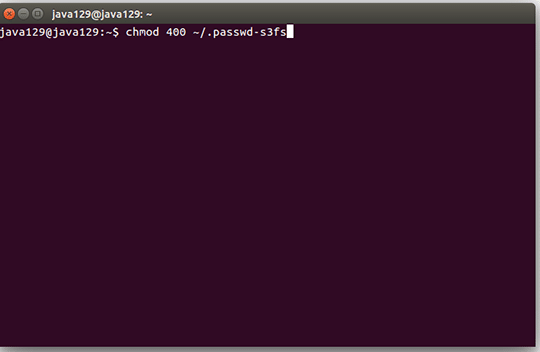
12) Create a new bucket in S3 for the new client. Let us name the bucket ‘newclientbucket’. Now create a new folder in the local machine where we want to mount the bucket. Run the following command:
sudo mkdir <path_name_of_folder_where_mounting_is_required>for example,
sudo mkdir /usr/local/s3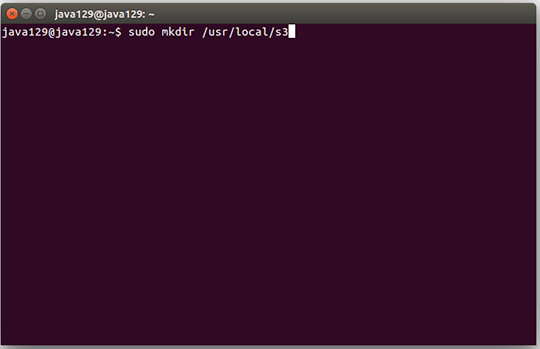
13) Run the following command then to change the ownership of the folder to the current user
sudo chown ubuntu:ubuntu <path_name_of_folder_just_created_above>For example,
sudo chown ubuntu:ubuntu /usr/local/s3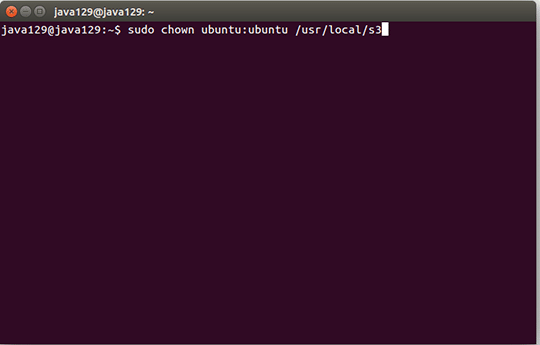
14) Run the following command then to create a folder where s3fs will handle all the cache data
mkdir ~/cache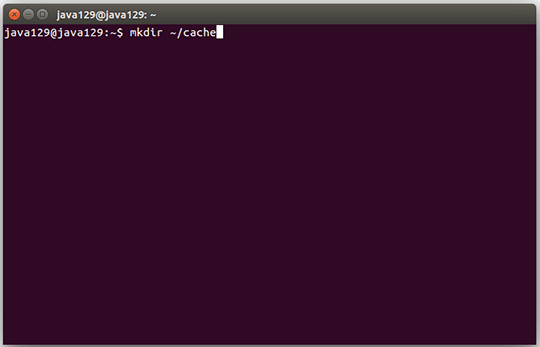
15) Run the following command then to create a connection between the s3 bucket and the newly created folder
sudo s3fs <your_s3_bucket_name> <path_name_of_folder_created> -o allow_otherfor example,
sudo s3fs newclientbucket /usr/local/s3/ -o allow_other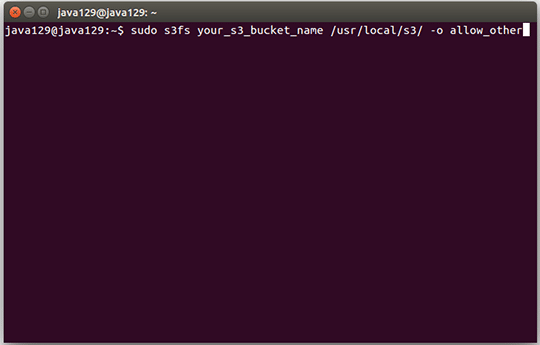
16) Run the following command to actually mount the s3 folder onto the local folder
mount
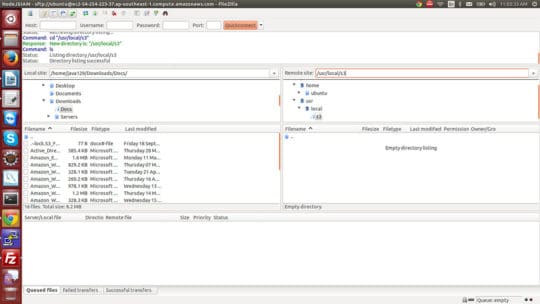
17) Turn on FileZilla for testing purposes. Go to the folder that we have created and try copying a file to it. Go to AWS S3 console and check the bucket that we have mounted. The file that we just added using FileZilla should be present there.
Hooray!! S3 FTP setup complete.
Cloud computing has become powerful tool as it stores data in the cloud, which is then easily accessed by management staff from anywhere and any part of the world via internet. You can avail such technology for your office by approaching any of the software outsourcing companies. Such companies are dealing in premium software solutions that will make your business process easier and smoother.
This article is written by Evan Gilbort. He is working with Aegis Soft Tech, offshore & software outsourcing development company. His article is very helpful and easier understand for the reader. Reach him @ Twitter, Google+.
