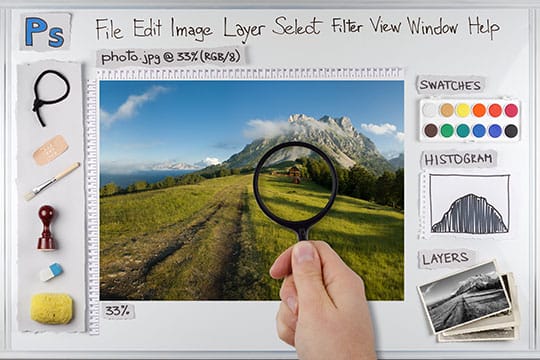
Adobe Photoshop is an editing tool that has changed photography forever. No good photo has passed Photoshop untouched, as it has a habit of making a good photo into a great picture. Photoshop is undoubtedly one of the most powerful applications when it comes to image editing around. There is nothing that photoshop cannot do with photos. But there are some handy Photoshop photo filter tricks that you might want to know.
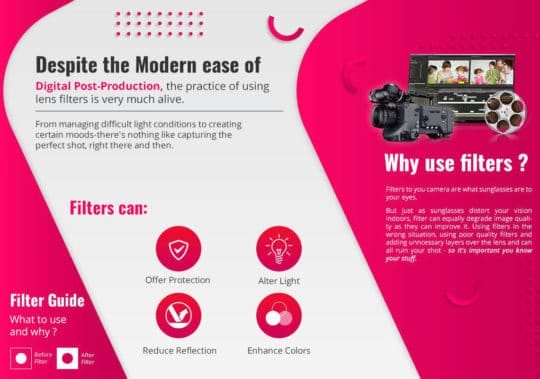
There are innumerable ways people can use Photoshop to improve their pictures, and filters are a great way to achieve certain effects. Filters are frowned upon by professional editors, but their simplicity and power cannot be overlooked. They are used to touch up photos and to clean up the general look. You can use filters to achieve something you couldn’t with photography itself or create unique transformations in your pictures.
Adobe has taken care to see that we have a lot of filters to play with. The photo filter tricks that you can do on photoshop is mind-blowing! With every new version of Photoshop, we get more and more filters that do all sorts of different things. You can also take advantage of creative designing services to help you create amazing photos.
There are numerous things you should know before you start filtering your pictures, and here are a few of the most important ones.
Recommended for you: 100+ Awesome Free Photoshop Actions You Shouldn't Miss.
Open Your Image
When you’ve opened a colorful and good picture in Photoshop, you immediately notice there is room for improvement. With a few touch-ups and filters, your image is sure to improve marginally.
If the colors are a bit too different and vary too much for your liking, you can solve this simple problem by tinting the image with Photoshop’s filters.
The colors offered by the filter itself sometimes don’t add up and don’t make your image look exactly how you would like it to be. However, you can always ditch the presets and select from a wide variety of colors in the color pallet or sample one of the colors in your existing picture. It’s as easy as that.

Add a Photo Filter Adjustment Layer
Layering is one of the essential features of Adobe Photoshop. The layering feature lets you divide your picture into layers and work on each one separately from the rest of the image.
The layering function also offers layer filtering, which allows you to specifically target a piece of the image with a filter without affecting the rest of the image.
In the layer panel, you’ll be offered with numerous options. One of these options is the Photo Filter adjustment layer. After selecting this function, you can choose a photo filter from the list of offered filters to improve your picture.
The photo filtered layer will appear right above your background layer. And you’ve done it – the comparison is plain and simple to see. Depending on your choice, your image will be much warmer or colder.
If you’ve chosen to mellow out the colors, you can always compare it to the original and test out what works for you.
Click the Color Swatch, and then Click on a Color in the Image
This is a quick and simple shortcut to achieve that perfect color balance in your image. The options of your filter will appear in the properties panel of your Photoshop filter. After clicking on it and viewing the furthered options, you can adjust how warm or cold your picture will get.
Photoshop presets are fantastic and are going to do just fine on their own, but if you want to achieve the best possible effect, you should consider the following. You can choose to pick a color directly from the image you are editing to get a personalized effect, unique to your image.
If that sounds like too much work or you’d like to check the presets, check out all the effects to find the one that fits best with your image.
Motion Blur
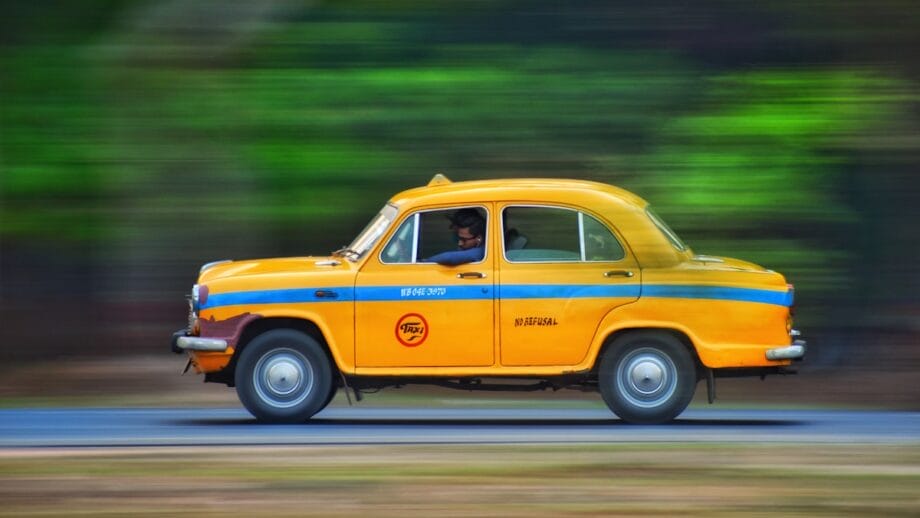
Many photographers believe that a good picture will be a motion-free image. However, motion and motion blur play a significant role in photography.
If you’ve ever wondered how particular objects in a picture can remain so in focus, while the background is ever so blurred, you’ve stumbled upon your solution. Motion blur is one of the best tools in your arsenal. After selecting the motion blur function, you must choose the parts of the image to blur. We suggest that you cut your image up into layers beforehand, to make your job easier.

Noise Reduction
Noise is the bane of good editing. Pixelization is never preferred, and when you’re enlarging or shrinking pictures, it might occur. Many a time, while capturing a picture at a high ISO, the photos tend to become ‘noisy’ and ‘grainy’. What we call noise is an undesirable texture in a picture. While graininess in a film happens because of using film stocks with huge clumps of silver, noise, in a digital camera, happens due to signal amplification.
Lucky for you, some filters take care of this problem. This is also much easier if you’ve previously cut your image into layers. The “Reduce Noise” filter is best used after you’ve finished all the work on the image or layer, so save it for as long as you can. Using it too much can distort your image.
Plastic Wrap
Plastic wrap is a function that is designed for making the best liquid effects. It does a great job of creating liquid effects of various types. If there is a part of an image you wish to liquify, this is the preferred tool to do so. But be sure to practice caution when using this tool, as using it too much can ruin your photo. Work in small layers.
It is also a great tool when it comes to wrapping an object in plastic.
Displacement Map
The displacement map function is great when you’re working with textures in your image. It’s a great filter that gives much more life to existing textures, and if used properly, it could achieve a wide variety of unique and exciting effects, such as reflection or distortion.
Photoshop is one of the most essential tools for every designer or photographer. It has revolutionized the way we view photographs. Mastering Photoshop has never been an easy task, even in its early days.
You may also like: 15 High DA Image Sharing Sites to Step Up the SERP Game in 2019.
Conclusion

Even though Adobe Photoshop is a complex software, the brains behind Adobe have made the features enticing enough for both beginners and advanced users. Photo editing which involves mastering a few critical photo filter tricks on Photoshop is not a choice, but a necessity for every photographer serious about his/her job. Mastering these techniques is as essential as mastering your photographing skills.
Mastering photo filter tricks on Photoshop is extremely useful and time-consuming as well. You must be patient, as you can’t expect to get the hang of such a program without mastering one of its core functions such as filtering. You can change the look of your chosen image entirely by implementing a few essential photo filter tricks. Photography without the knowledge of a few essential photo filter tricks is like eating bread without cheese! If you try out these tips, you’re sure to be a Photoshop pro in no time!
This article is written by Erica Martin. Erica has been an avid blogger for 5 years, with particular interests in creative design – graphic design, illustration, etc. Today she is an expert on the subject and over the years she has consistently contributed articles to designing publications. Presently, she is associated with Artwork Adobe (AWA) - a creative design company.


