If you are a non-technical person and want to create a website in easy steps to showcase your creativity or your business digitally, then there’s hardly a better platform than WordPress. It is the most popular CMS because of its user-friendliness. You don’t really need to have the knowledge of any kind of coding to create and manage a professional WordPress website. In most of the cases, choosing a perfect theme does it all. What remains is the part of customization that you need to do to add a more professional appearance to it.
Therefore, choosing a suitable theme for your website is out and out necessary. Here’s a complete guide to assist you in the selection and customization procedure.
1. The Header

The header is the most important part of a website. It’s the very first section that becomes visible to a user and most importantly, it remains same not only on the home page but also on all the inner pages. So, if you want to display some important information about your business, it’s the best part to place it.
The very first element that you can find on most of today’s websites is the logo of the company. They also have all their services or types of products displayed on the header menu. Then there are the social media icons leading the users to their social media pages. And most importantly, there is the call to actions like the phone number and email id. These are the four basic elements that you should have in your header part.
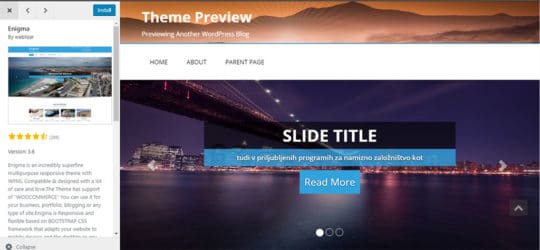
There’s a WordPress theme, named Enigma that comes with all these four basic features mentioned above. You just need to go to the Customization area from the dashboard and make the changes according to your requirement.
Most of the themes come with the header menu option where you can add all your service or product types. But you might not find the other features in a particular theme. In that case, you need to install some plugins.
Recommended for you: 10 Premium WordPress Themes Great for News, Magazine & Editorial Sites.
1.1. Adding Social Media Buttons on Header
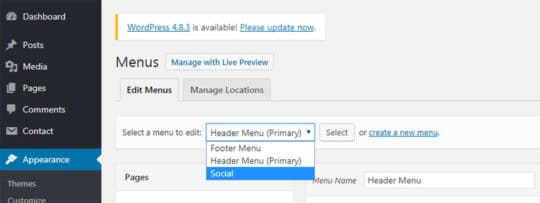
With Menu Social Icons, you can have all your social media pages visible in the header. After installing and activating the plugin, you need to go to the “Menu” section under “Appearance” on your dashboard. Then you need to select the menu to edit.
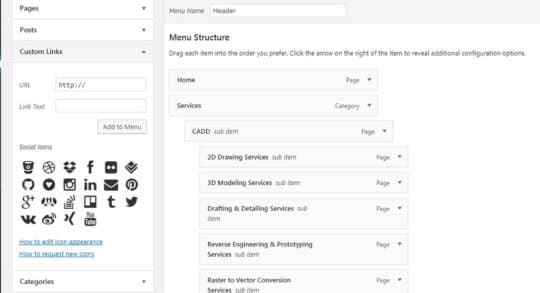
Then click on the drop-down, namely “Custom Links” in the left sidebar.
You will find a list of social media icons. Just select the icons you need and add the links to the social media pages of your company. Then click on the “Add to Menu” button and you will be done with adding the social media icons to the header part of your WordPress site. If you want to add these icons to the footer as well, follow the same procedure after selecting the footer menu at first.
If you want to display the social media icons separately on the header, then you need to choose a theme that supports three menus (header, footer, and social menus) and add these custom links after selecting the social menu area.
1.2. Adding Call to Actions to Header
If your theme doesn’t support call to actions on the header, you can do that by installing the Siteorigin CSS plugin which is one of the best WordPress plugins developed ever for the beginners. With it, you can change the colors, styles fonts on your website in minutes. Let’s learn how you can add a call to action by using it.
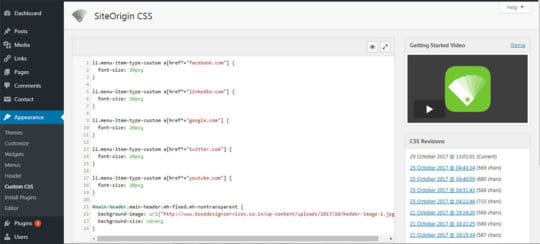
At first, you need to install and activate the plugin. Then, create an image of a particular size containing your contact number and email id. Then you have to look for “Custom CSS” under the “Appearance” section on your dashboard.
Then click on the eye symbol on the top right corner.
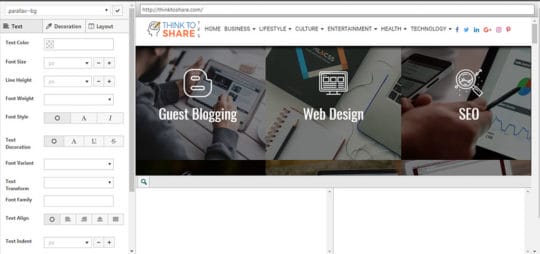
You will be redirected to a live editor page like this.
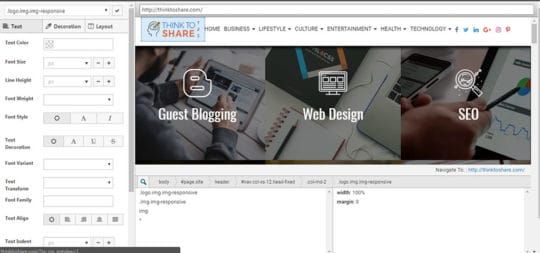
Then select a particular area where you want to put the image containing your contact details.
Then click on the decoration tab on the left sidebar and choose your image as the background image.
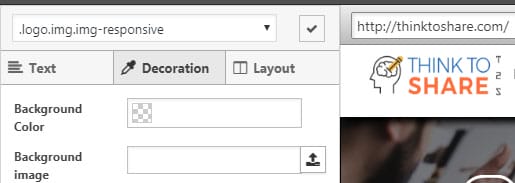
If you can’t select a particular area using the live editor of Custom CSS, then measure first the height and width of the header of your website and create an image of the same measurement having the same background color as your header, including the contact details (preferably on the top right corner). Then select it as the background image of the header from “Custom CSS” and you will be done with the creation of call to actions on the header.
You may like: Pinpointing the 5 Overall Best WordPress Business Themes.
1.3. Adding a Logo to the Header
There are a good number of themes that don’t support an image as a logo. You can only use texts as a logo in those themes. If you have chosen such a theme, then consider using the Siteorigin CSS plugin once more and add a logo to your header just like you added a call to actions.
2. The Home Page Sections

There are a lot of themes that come with different homepage sections. If you have chosen one of them, you can edit those sections from “Customization”. You can also hide/ disable specific areas from “Customization” if you don’t think they are useful to you.
If your theme doesn’t have any section and if you want to add some, you can do that using the Elementor plugin. It’s one of the few plugins that let you add image boxes, text headings, buttons, icon boxes, image galleries, image carousels, testimonials, tabs, accordions, Google maps and more. You can also style all these specific elements with different colors, background colors, images, shadows, and effects.
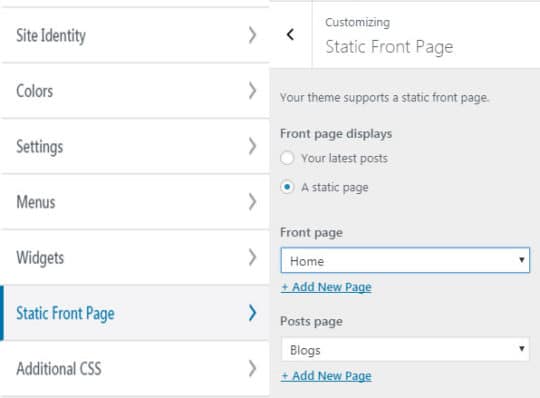
But, it doesn’t support the default home pages of all themes. In such cases, you need to make another page the home page of your website. To do that, you have to go to “Customization” > “Static Front Page” and select a page other than the default home page. Then, save and publish and you will be able to create different front page sections with Elementor.
2.1. Creating Slider
There are a lot of plugins available to create a slider. But if you want to have a lot of customization options like selecting slider height and width, slider controls, slider transition, slider navigation etc, it’s recommended to go for the Master Slider Plugin. After selecting the images and customizing all the other settings, you will get a shortcode. Just copy and paste it after selecting a “Text Editor” from Elementor and you will have a slider on the homepage.
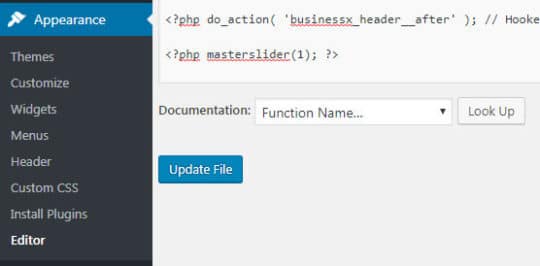
If you want this slider to be displayed on all the pages of your website, you need to choose the PHP function code from Master Slider and paste it at the bottom of the header.php that can be found under Appearance > Editor.
2.2. Adding About Us Section
You can add an about us section right after the slider on the homepage. For that, you have to edit the particular page with Elementor.
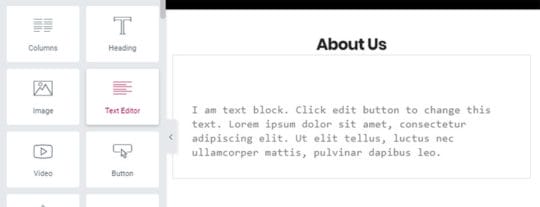
At first, select the text editor from the left sidebar and add some texts to it.
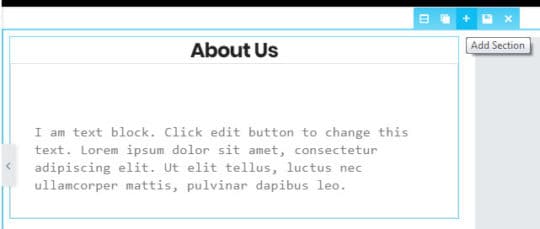
Then add a section by clicking on the top right corner of the text box.
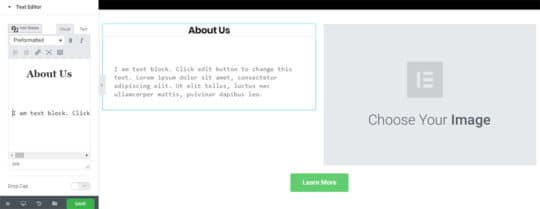
It will divide the about us section into two parts and you will get some space to upload an image of your team.
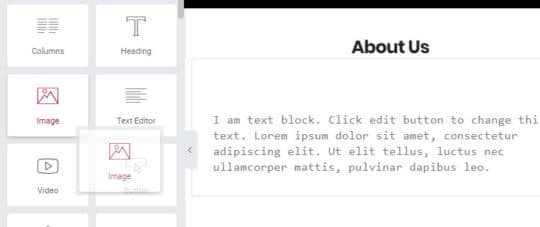
Then drag an image box to it and upload the image.
At last, you can add a “learn more” button at the bottom of the section and add a link to the about us page of your website.
You will be ending up with somewhat a similar looking about us section.
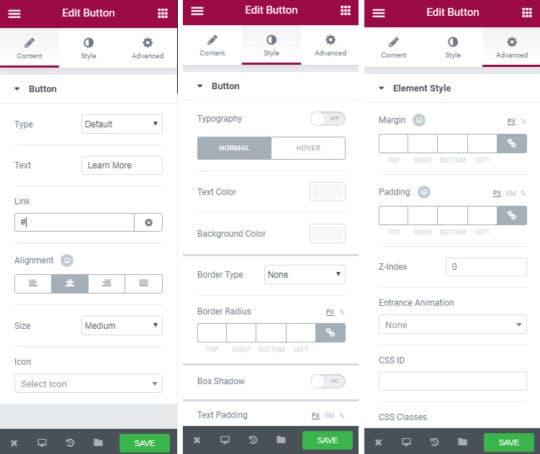
With all the elements you add to your design, you will get more or less the similar options displayed in the above images. You can find these options in the left sidebar. All you need to do is to click on Content, Style and Advanced tabs displayed on top of the images.
You may also like: 30 Great WordPress Portfolio Themes Suitable for Photographers.
2.3. Adding Our Services/ Products Section
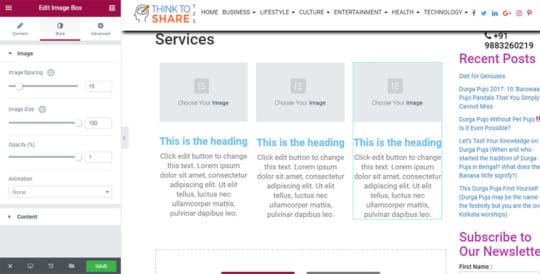
Displaying your services or products on the home page is necessary. Elementor can also help you do that. You can choose image boxes displaying relevant images of your services or products and adding short descriptions of what you offer.
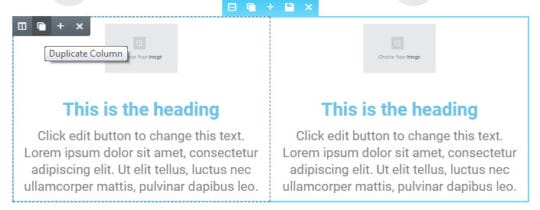
To make similar image boxes side by side, just make a duplicate of each element as shown below.
2.4. Adding Testimonial Section
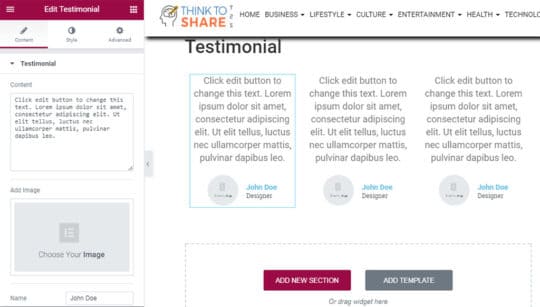
Elementor also offers you to add a testimonial section. Just select “Testimonial” from the left sidebar and add it. You will end up with a testimonial section like this.
2.5. Adding Google Maps
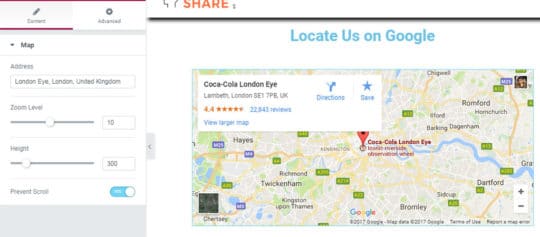
You can also add a Google Maps section to the home page. Just drag “Google Maps” from the left sidebar and add your business address listed on Google.
3. The Footer

3.1. Adding a Footer Menu
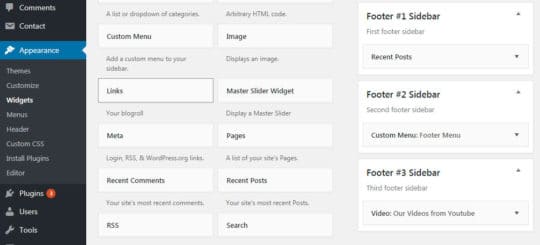
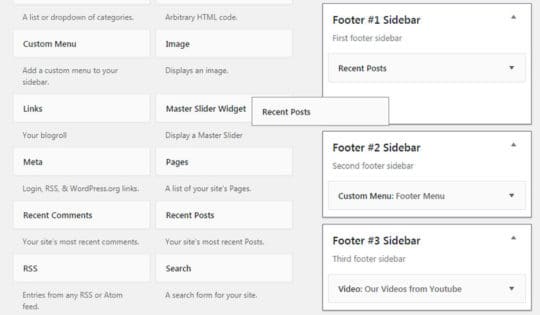
Creating a footer menu is similar to creating the header. You need to go to Appearance>Menus and add the pages you want to the footer menu. You can also show your recent blog posts or hot products in the footer section. For that, you need to choose a theme that supports widgets in the footer. At first, you need to go to Appearance > Widgets and look for the footer sidebar area.
If it is there, just drag and drop a widget to a footer sidebar and it will be visible in the footer.
You can also add a social media feed to your footer. For that too, you have to install a widget for a particular feed from the plugin section and place it on a footer sidebar.
Recommended for you: 11 Facts About WordPress Theme That Will Make You Think Twice.
3.2. Adding a Footer Copyright
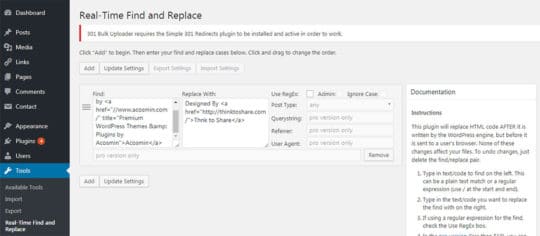
Generally, themes come with a copyright text, displaying the name of their brands. On some themes, it is easy to change the copyright text. To do it, you should visit Appearance > Editor > footer.php and find the text written in the footer and change it as per your needs. But there are themes that don’t allow to change the copyright text. Even, it is very difficult to find the copyright text on some themes. In such situations, you need to install the plugin, namely Real-Time Find and Replace.
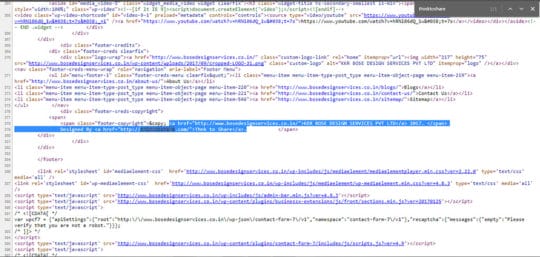
To make changes using the plugin, you need to go to Tools > Real-Time Find and Replace. Then find and copy the existing text copyright code from the source page (press ctrl+u after visiting the website) and paste it in the “Find” box in Real-Time Find and Replace.
Then paste the text code you want to display as the footer copyright text in the “Replace With” box and click on “Update Settings”. You will have your copyright text in the footer.
To create a footer copyright text code with a link, just click on “Add a New Post” from the admin panel and paste a hyperlinked text. Then click on the text mode. You will get the code form of the text.
Final Words:
Just follow these steps and create your own professional and customized website with a free theme in a few hours.
Want to join the digital world? Nothing to worry. With WordPress, you can make your personalized website within hours using any free theme.
This article is written by Parag Nandy Roy, the Admin head of Think to Share. A passionate blogger and a digital marketer, wanting to help people with useful information to promote their business online. Follow him: Facebook | LinkedIn | Google+ | Twitter.
