It takes only a few seconds for a person visiting your website for the first time to make the decision whether they should stick around or not. With the advent of cloud infrastructures and smart technology, exposure to the Internet has become quite common among the world’s population. Back in the days, such technologies were obsolete, and people were more dependent towards alternate ways of communication. However, today the Internet has globalized, and you can find it accessible at every nook and corner.
With such a competitive nature of the market, people tend to choose websites that are more attractive, eye-catching and business-oriented. Also, Speed is a vital requirement for every site. Speaking of speed, I think that’s what my topic is all about! So today, I am going to educate our readers on how to accelerate their WordPress website pages using AMP. I will also help you understand how AMP can be integrated into your WordPress site. In my opinion, that’s about everything you need to win the consent of the readers visiting your site for the first time.
What is AMP? – Short Accelerated Mobile Pages
Last year in October 2015, Google announced AMP as an open-source initiative to provide faster mobile browsing. Automattic, the organization behind WordPress.com, also began it’s a contribution to making WordPress compatible with AMP. It is compatible with almost every cellular device. The reason why AMP integration with WordPress is necessary because search engines such as Google Search prioritizes websites that are integrated with AMP.
The AMP in action consists of three parts:
- AMP HTML
- AMP JS
- Google AMP Cache

Why Is AMP Important?
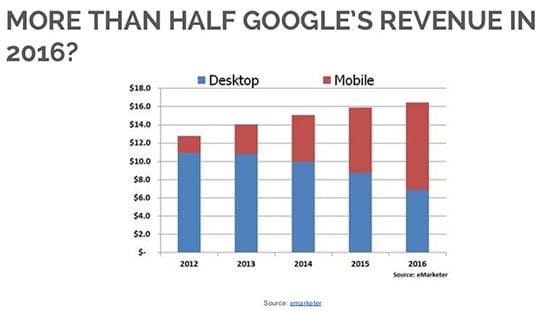
AMP is vital because it helps pages to load faster which enhances the site’s usability and convinces visitors to stick around for longer time span keeping themselves engaged with your content. The logic is simple: faster load time leads to better engagement, which reduces bounce rate and improves mobile ranking.
Pros of AMP
- AMP speeds up website load time.
- It increases mobile ranking.
- It improves server performance.
Cons of AMP
- Ad revenue is reduced.
- Analytics is a bit stripped.
Note: Some reference taken from searchenginejournal.com.
Installing AMP in WordPress
To install AMP on WordPress, you don’t require any technical knowledge. You can download AMP for WordPress from the WordPress plugin directory, or you can simply install it directly on your WordPress admin dashboard from the back-end.
Here’s how you can do it!
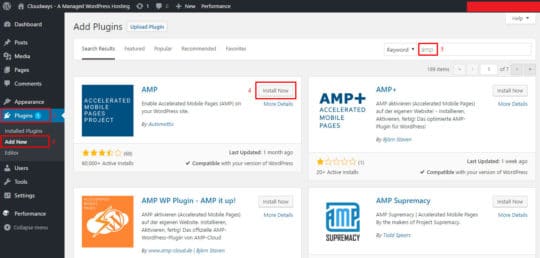
From your “WordPress Admin Panel”, navigate to “Plugins >> Add New.” In the top right search bar, search for “AMP” and click on “Install Now.” After installing, click on “Activate Plugin.” For reference check the image below.
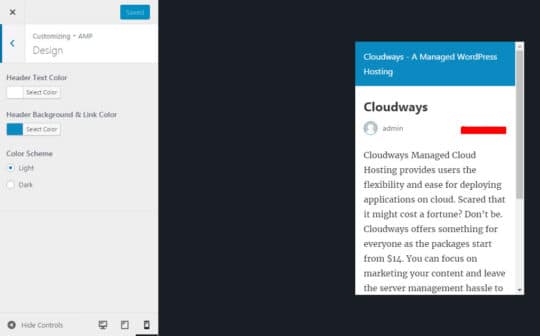
Now to check how your website looks on a mobile phone, navigate to Appearance >> AMP.
Here you can change the header text color as well as header background and link colors. Make sure to click on the “Save” button after you are done with the necessary changes.
To view mobile responsive versions of your website pages, simply add /amp/ at the end of a post link on your site and watch the magic happen. Your link will look somewhat like below.
https://www.rswebsols.com/post-one/amp/
Accelerated Mobile Pages
If your AMP plugin doesn’t give you desired customization options and you wish to add more functionalities to your AMP version, you can always make use of an upgraded module “Accelerated Mobile Pages”. It cuts down AMP guidelines enabling you to customize AMP versions of your posts in accordance with your needs. You can easily find it in the WordPress Repository.
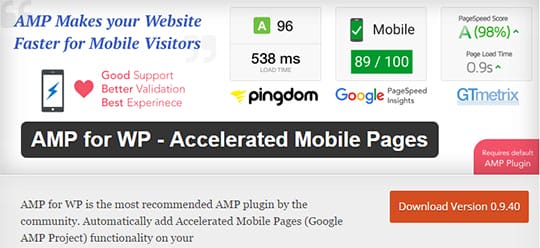
Installation
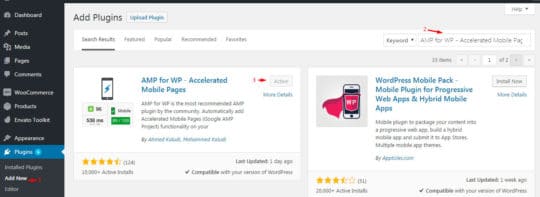
From your “WordPress Admin Panel”, navigate to “Plugins >> Add New.” In the top right search bar, search for “Accelerated Mobile Pages” and click on “Install Now.” After installing the plugin, click on “Activate Plugin.” For further reference, you can check the image below.
Once you are done with the installation, you can see the AMP tap automatically appear on your WordPress admin panel dashboard.
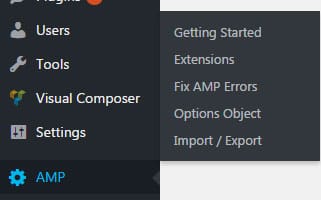
So, we are finally done with the installation. Let’s check out some of the major settings for AMP in WordPress.
General
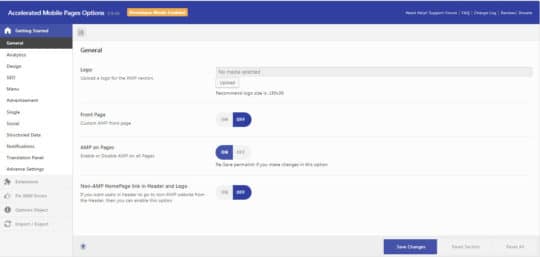
You can organize general settings such as logo custom amp front pages as well as enable or disable amp for all pages from the General settings.
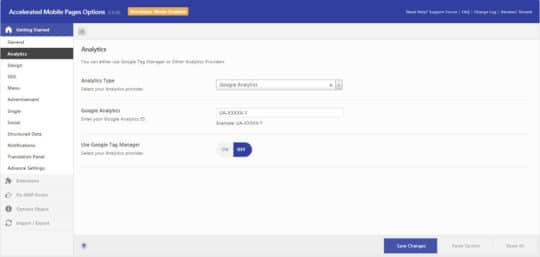
Analytics
The Analytics option allows you to use Google Tag Manager or any other analytics provider of your own choice.
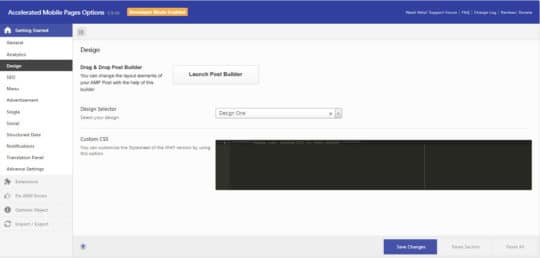
Design
This option enables you to change the layout element of your AMP post with the help of Drag & Drop post builder.
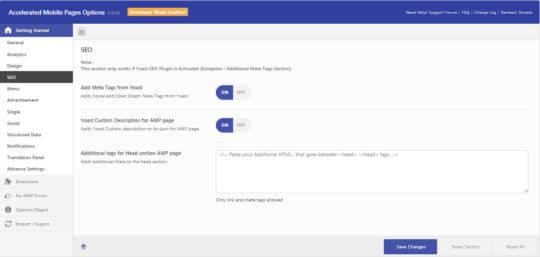
SEO
If you want to use this option, you need to install and activate Yoast SEO plugin on your website. Here is a complete guide on the Yoast SEO plugin.
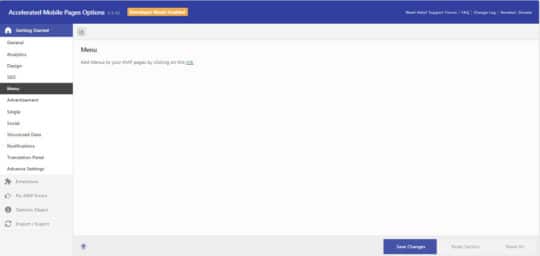
Menu
You can also add menus to your AMP pages.
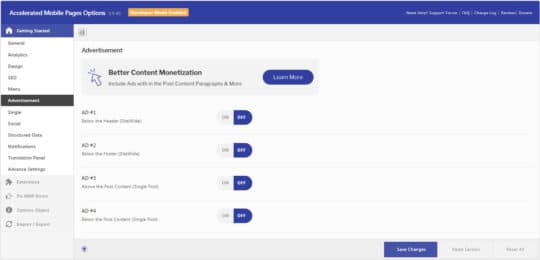
Advertisement
With the advertisement option, you can add ads wherever you want to add them on your website page. It can be placed below the header, the content section or anywhere else that you desire.
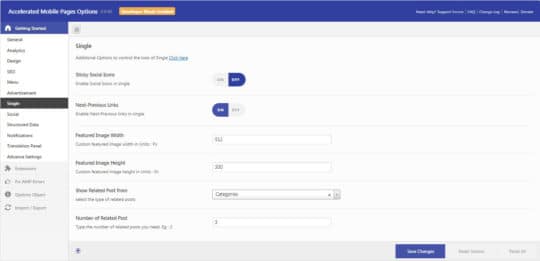
Single
This is an additional option; you can add some additional changes to your featured image. You can modify the width and height of the image using this option.
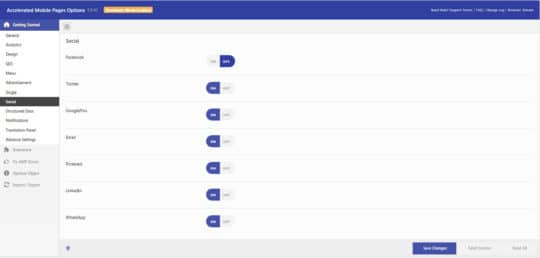
Social
This option allows you to enable/disable social icons. You can also place social icons wherever you want to display them using this option.
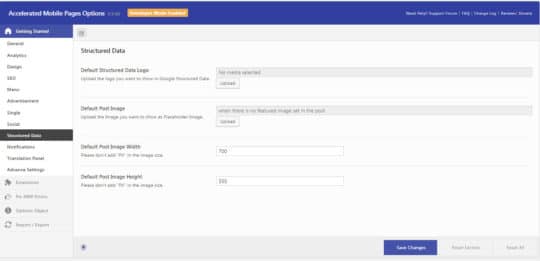
Structure Data
You can set the structured data on your post with this option.
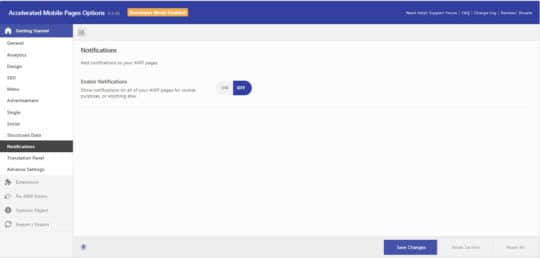
Notification
You can enable notifications on all of your AMP pages for cookie purpose, or anything else.
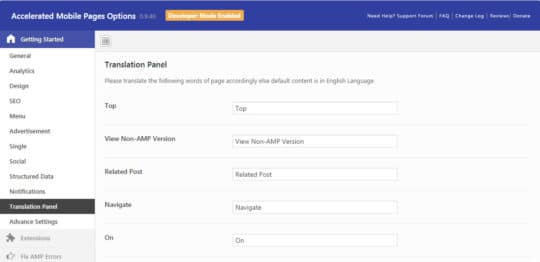
Translation Panel
The default content is set to the English language; however, you can translate the page in a number of different languages depending on your preference. To do so, this panel comes in handy.
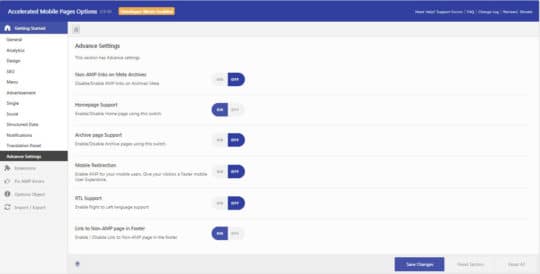
Advance Settings
This section has Advance settings. You can enable or disable some advanced setting here such as Homepage Support, Archive Support and much more.
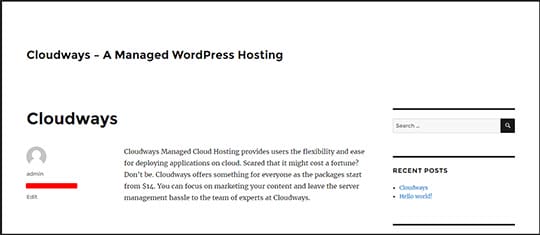
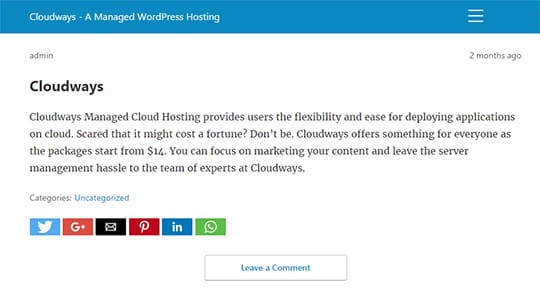
Once you have configured all the settings in accordance with your requirements, just select Save Changes before you exit the AMP screen. The checkout further allows you to choose whether you want the website to be available on the Internet with or without AMP.
Without AMP
With AMP
Final Words
With that, we conclude our article on AMP with WordPress. I hope this article is helpful for you and you understand how to configure AMP on WordPress for your WordPress website. I have tried my best to keep things simple and to the point. If there is anything I missed out or you wish to clarify, please leave a comment below.
Saud is the WordPress Community Manager at Cloudways - A Managed WordPress Hosting Platform. Saud is responsible for creating buzz, spread knowledge, and educate the people about WordPress in the Community around the globe. In his free time, he likes to play cricket and learn new things on the Internet.
